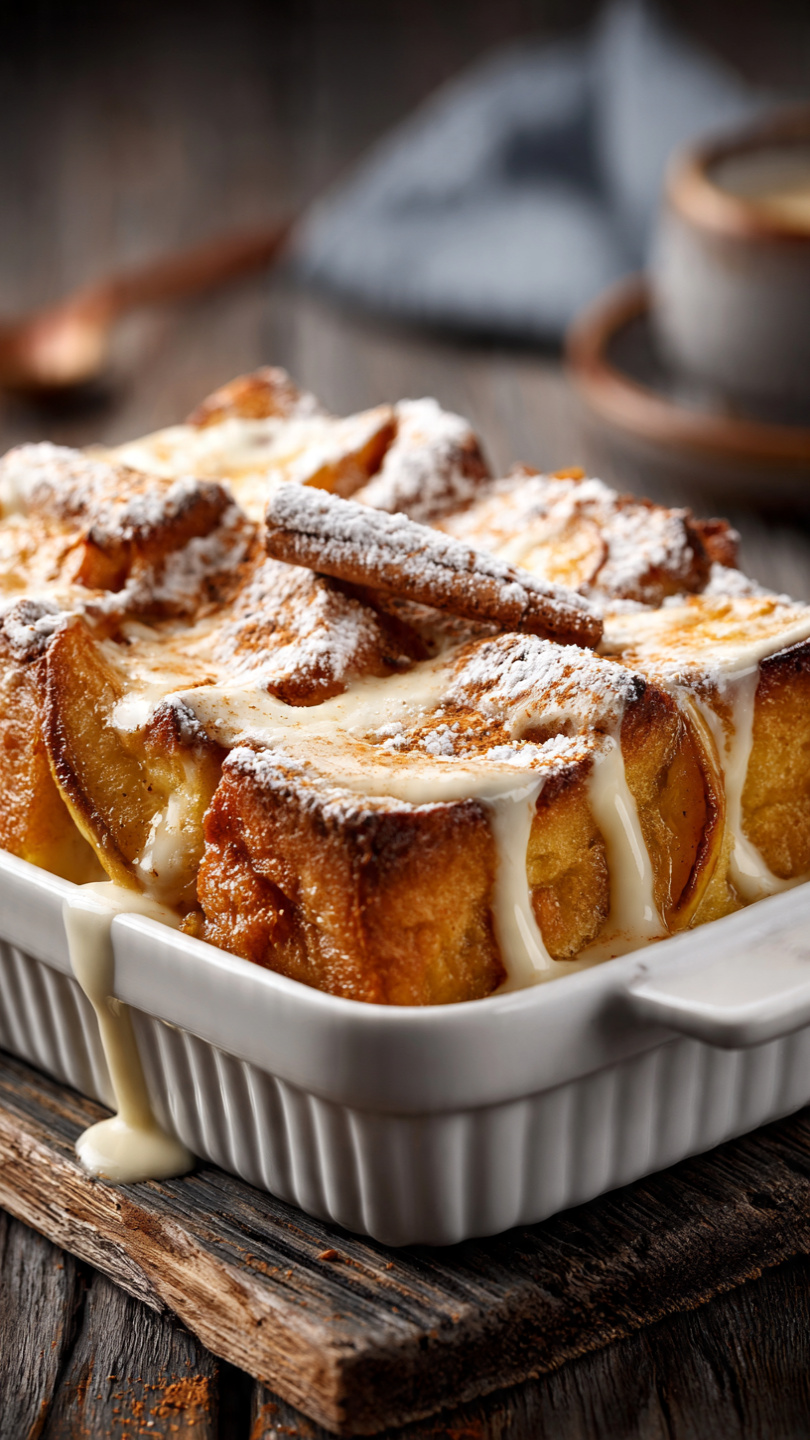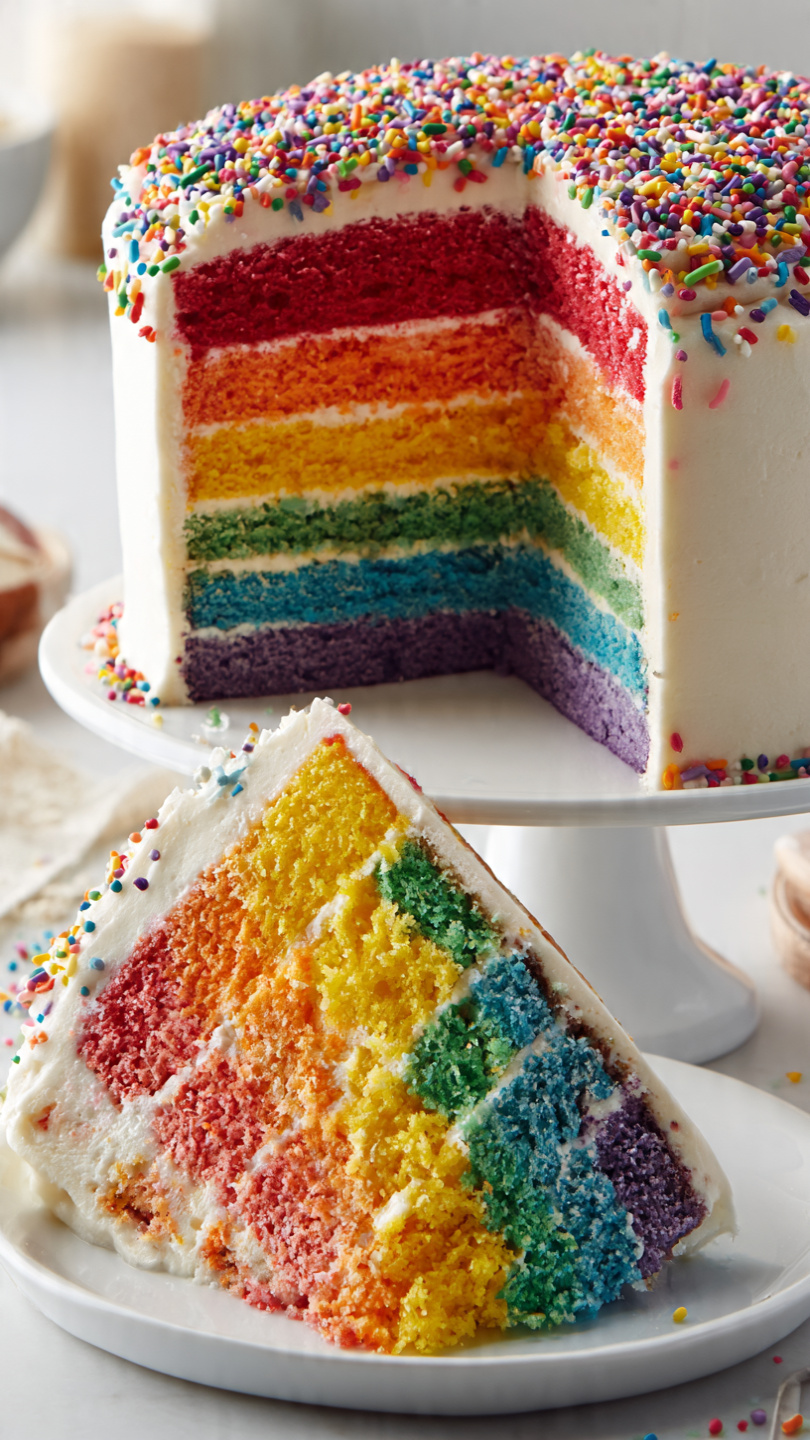
Rainbow Cake: The Showstopping Layer Cake That Wows Every Time
This stunning Rainbow Cake features six vibrant layers of moist vanilla sponge in every color of the rainbow, all wrapped in fluffy white buttercream frosting. It is the ultimate celebration cake that tastes just as good as it looks.

The Most Magical Cake You Will Ever Cut Into
There is a very specific kind of magic that happens when you slide a knife through a pristine white frosted cake and reveal a hidden world of color inside. Six bold, beautiful layers of red, orange, yellow, green, blue, and purple appear all at once, and every single person in the room gasps. That is the rainbow cake experience, and it never gets old.
This is the celebration cake for birthdays, graduation parties, Pride celebrations, end-of-school parties, or honestly any moment that deserves a little extra joy. It looks wildly impressive, but the technique is surprisingly approachable. If you can make a basic vanilla layer cake, you can absolutely make this.
Why This Recipe Works
A lot of rainbow cake recipes rely on boxed cake mix, and while there is nothing wrong with that shortcut, a scratch-made vanilla sponge gives you layers that are noticeably more tender, moist, and flavorful. The secret weapons here are:
- Sour cream, which adds subtle tang and keeps the crumb soft for days
- Gel food coloring, which delivers saturated, true-to-life color without thinning the batter
- Room temperature ingredients, which emulsify properly and create a smoother, more even crumb
The frosting is a classic American buttercream, kept bright white to let those rainbow layers do all the talking.
Getting the colors right and the layers even is so much easier with the right baking tools. A good set of matching 8-inch cake pans and quality gel food coloring really do make the difference between a cake that looks professional and one that looks homemade in the wrong way.
Tools & Ingredients We Recommend


Tips for Flawless Rainbow Layers
Before you start mixing, a few things are worth knowing:
Use a kitchen scale if you have one. Dividing batter into six equal portions by weight (rather than eyeballing by volume) gives you even layers with consistent heights. Uneven layers can make the cake lean or look sloppy when sliced.
Do not skip the crumb coat. That thin first layer of frosting seals in any loose crumbs and gives you a smooth base to work on. Chilling it for 20 minutes before the final coat is what separates a polished cake from a messy one.
Chef's Tip: Gel food coloring varies by brand. Start with a small amount on a toothpick, stir it in, and build up intensity gradually. You can always add more, but you cannot take it away.
Cool the layers completely. Warm cake layers will melt the buttercream on contact and cause the whole stack to slide. Give yourself plenty of time here. You can even bake the layers the day before and refrigerate them overnight.
How to Slice It for Maximum Drama
The reveal is half the fun. Use a long, sharp knife and wipe the blade clean between every single cut. This keeps the colors crisp and distinct on the plate rather than smearing into each other. Serve the slices face-up on the plate so everyone can admire the full rainbow cross-section before digging in.
For an even more stunning presentation, pair the cake with a scoop of vanilla ice cream or a light dusting of edible glitter on top.
Ready to bring some serious color to your kitchen? Here is everything you need:
Rainbow Cake: The Showstopping Layer Cake That Wows Every Time
This stunning Rainbow Cake features six vibrant layers of moist vanilla sponge in every color of the rainbow, all wrapped in fluffy white buttercream frosting. It is the ultimate celebration cake that tastes just as good as it looks.
Ingredients
- 3 1/2 cups all-purpose flour, spooned and leveled
- 1 tbsp baking powder
- 1/2 tsp salt
- 1 cup unsalted butter, softened to room temperature
- 2 cups granulated sugar
- 4 large eggs, room temperature
- 2 tsp pure vanilla extract
- 1 1/2 cups whole milk, room temperature
- 1/2 cup sour cream, room temperature, for extra moisture
- 6 gel food coloring, red, orange, yellow, green, blue, and purple
- 1 1/2 cups unsalted butter, softened, for frosting
- 6 cups powdered sugar, sifted, for frosting
- 4 tbsp heavy cream, for frosting consistency
- 1 tsp pure vanilla extract, for frosting
- 1 pinch of salt, for frosting, to balance sweetness
Instruction
Preheat your oven to 350 degrees F (175 degrees C). Grease and line six 8-inch round cake pans with parchment paper. If you do not have six pans, bake in batches.
In a medium bowl, whisk together the flour, baking powder, and salt. Set aside.
In the bowl of a stand mixer fitted with the paddle attachment, beat the softened butter and granulated sugar on medium-high speed for 4 to 5 minutes until pale and very fluffy. Scrape down the sides as needed.
Add the eggs one at a time, beating well after each addition. Mix in the vanilla extract.
On low speed, add the flour mixture in three additions, alternating with the combined milk and sour cream, beginning and ending with the flour. Mix just until the batter is smooth and no dry streaks remain. Do not overmix.
Divide the batter as evenly as possible into six bowls (roughly 1 cup per bowl). Tint each portion with gel food coloring: red, orange, yellow, green, blue, and purple. Stir each bowl until the color is fully and evenly incorporated.
Pour each colored batter into a prepared cake pan and spread to the edges with an offset spatula. Bake for 18 to 22 minutes, or until a toothpick inserted in the center comes out clean and the edges just begin to pull away from the sides.
Let the cakes cool in their pans for 10 minutes, then turn out onto wire racks and cool completely before frosting. Do not rush this step.
While the cakes cool, make the buttercream. Beat the softened butter on high speed for 3 to 4 minutes until very pale and creamy. Add the sifted powdered sugar one cup at a time on low speed, then increase to medium and beat until smooth. Add the heavy cream, vanilla, and pinch of salt. Beat on high for 2 minutes until the frosting is light and fluffy. Adjust consistency with more cream if needed.
To assemble, place the purple layer on a cake board or serving plate. Spread a generous, even layer of buttercream on top. Stack the blue layer, then green, then yellow, then orange, and finally red on top, frosting between each layer.
Apply a thin crumb coat of frosting all over the outside of the cake. Refrigerate for 20 minutes to set.
Apply the final layer of frosting smoothly over the entire cake. Use a bench scraper for clean sides. Decorate the top as desired with sprinkles, rosettes, or extra swirls of frosting.
Refrigerate the assembled cake for at least 30 minutes before slicing to allow the layers to set. Slice with a sharp knife, wiping clean between cuts to show off those brilliant layers.
Equipment
- Six 8-inch round cake pans
- Stand mixer or hand mixer
- Parchment paper
- Six medium mixing bowls
- Offset spatula
- Bench scraper
- Wire cooling racks
- Cake board or serving plate
- Toothpicks
Notes
Variations Worth Trying
Once you have the base recipe down, there are so many ways to personalize it:
- Ombre cake: Use shades of a single color instead of the full rainbow spectrum for a more elegant, sophisticated look.
- Funfetti filling: Fold rainbow sprinkles directly into the buttercream between layers for a surprise texture element.
- Lemon layers: Swap the vanilla extract for lemon extract and add a tablespoon of lemon zest to the batter for a citrusy twist that pairs beautifully with the sweet frosting.
- Chocolate frosting: Bold rainbow layers against dark chocolate buttercream is a genuinely gorgeous and delicious combination.
However you make it, this cake is guaranteed to be the centerpiece of any table and the most photographed thing at the party.