Apple Fritter Focaccia
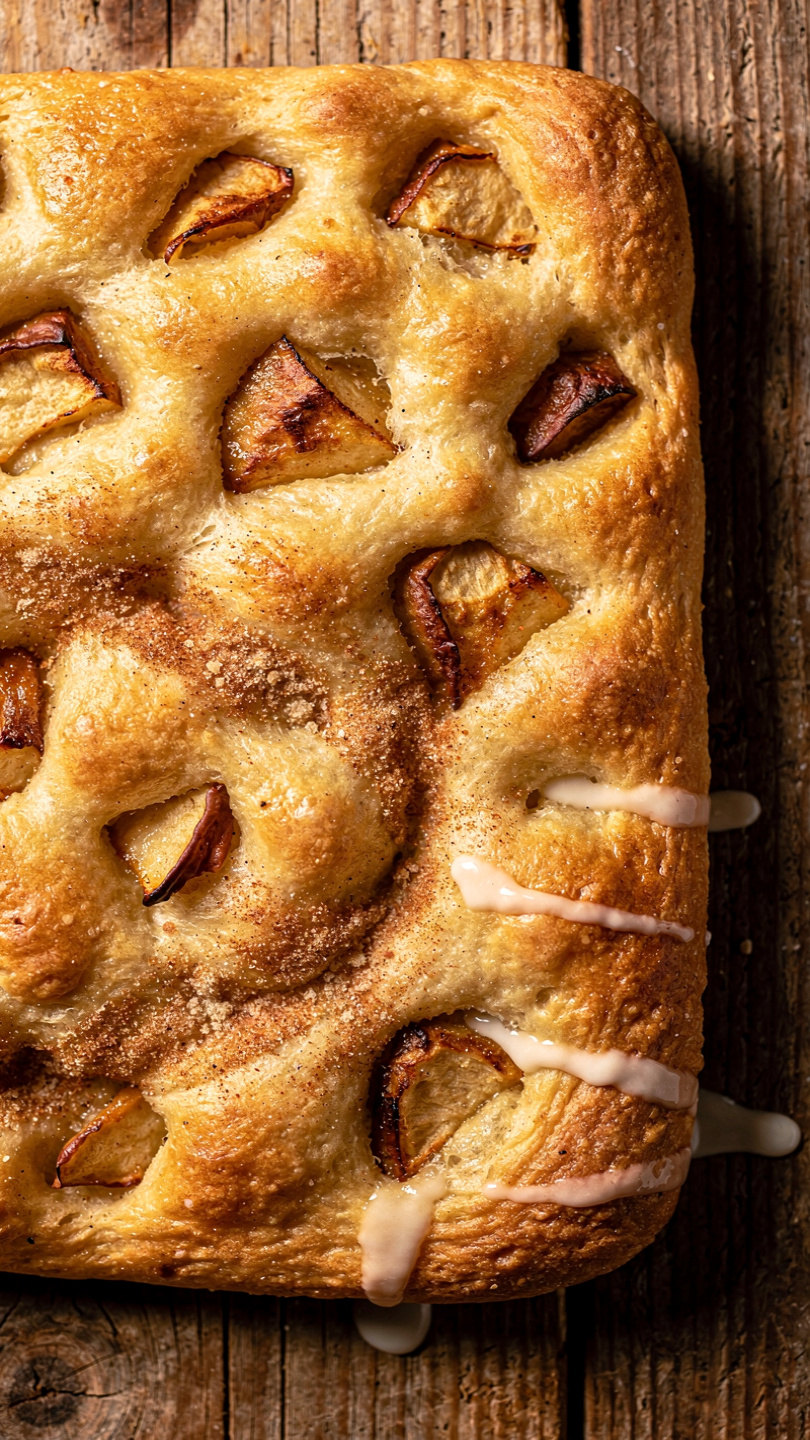
This Apple Fritter Focaccia combines the pillowy, golden crust of classic focaccia with the warm cinnamon-apple goodness of a bakery fritter. It is the easiest showstopper you will ever pull from your oven.

The Mashup Nobody Knew They Needed
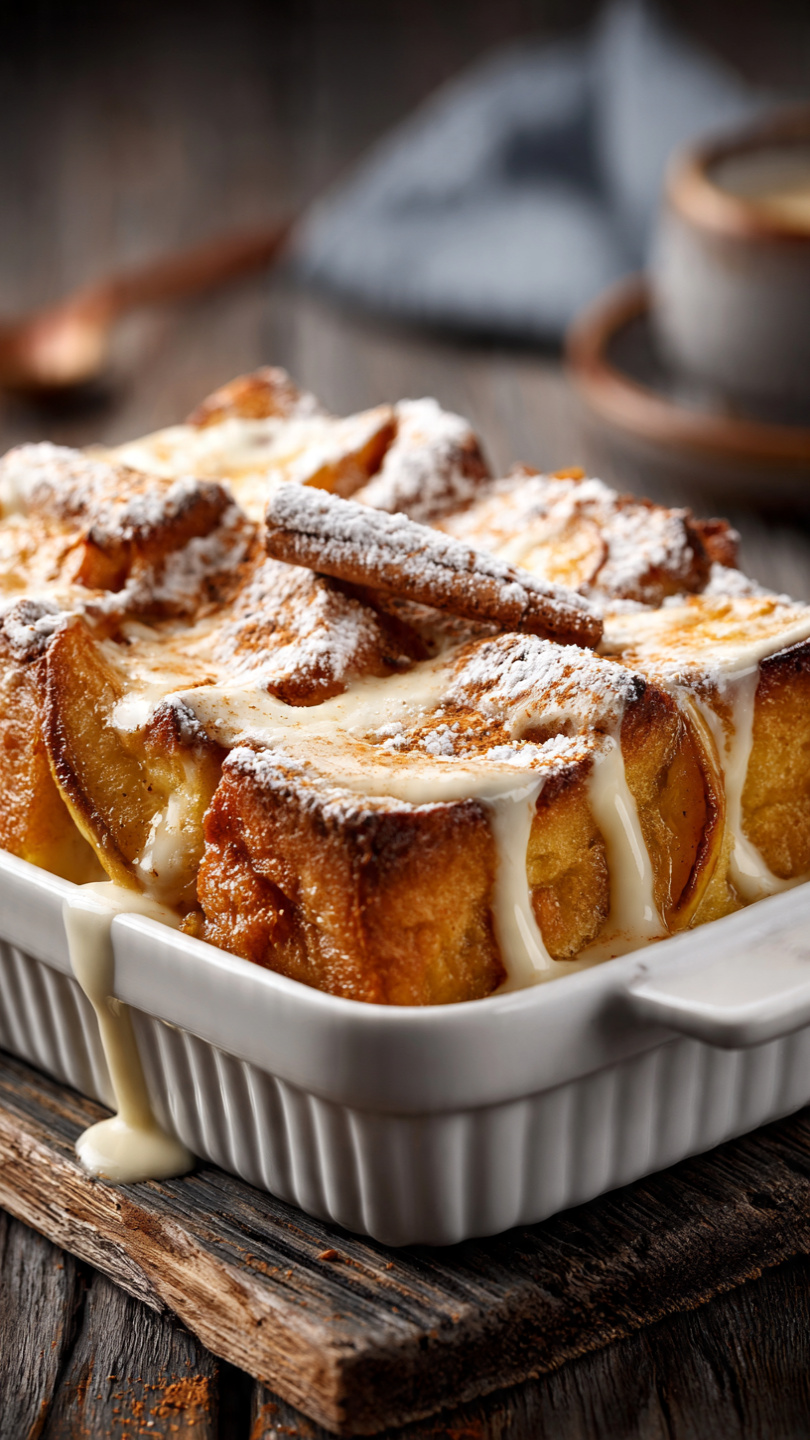
Imagine pulling a pan from the oven that smells like a cinnamon apple fritter and a fresh loaf of bread had the best possible morning together. That is exactly what Apple Fritter Focaccia is. It has the airy, dimpled crumb and golden, slightly crispy edges that make focaccia so irresistible, but the top is buried in caramelized cinnamon apples and finished with a vanilla glaze that drips into every crevice.
This recipe started as a weekend experiment and immediately became a permanent fixture on our table. It is the kind of bake that makes guests ask for the recipe before they have even finished their first slice.
Why This Recipe Works
A few things set this apart from your average sweet bread:
- Tart apples cut through the sweetness. Granny Smith apples hold their texture during baking and add a bright, fruity contrast to the brown sugar and cinnamon topping.
- The olive oil base. Focaccia dough is generously oiled, which gives the bottom a shallow-fry effect in the oven. That means crispy, golden edges even without a fryer in sight.
- Cornstarch in the apple mixture. A small amount of cornstarch keeps the apple juices from making the topping watery, so every bite stays perfectly caramelized rather than soggy.
- A vanilla glaze instead of frosting. The thin, pourable glaze soaks slightly into the warm bread, flavoring the whole thing rather than just sitting on top.
Having the right pan makes a noticeable difference with focaccia. A light-colored, heavy-duty 9x13-inch pan promotes even browning without scorching the bottom. Good olive oil also matters here since it goes directly into the dough and coats the pan, so its flavor comes through.
Tools & Ingredients We Recommend


Tips for Perfect Apple Fritter Focaccia
Getting the Dough Right
Focaccia dough is stickier than most bread doughs, and that is completely intentional. Resist the urge to add more flour. The high hydration is what gives focaccia its open, airy crumb. Simply oil your hands if the dough sticks during shaping.
Chef's Tip: If your dough keeps springing back when you try to stretch it into the pan, walk away for five minutes. The gluten needs a short rest to relax. It will spread much more cooperatively after that brief break.
Dimpling Matters
When you press the apple pieces into the dough, you are doing double duty. You are creating the signature focaccia dimples that give the bread its character, and you are also anchoring the apple topping so it does not slide off during baking. Press gently but confidently.
Watch the Edges
The apples on top can mask how golden the bread is getting underneath. Check the bottom and edges of the focaccia by carefully lifting a corner with a spatula. You want deep golden brown, not pale yellow.
Serving Ideas
This focaccia is wonderful on its own, but it also pairs beautifully with:
- A scoop of vanilla ice cream for a proper dessert
- Whipped cream cheese spread on a warm slice for a brunch treat
- Hot coffee or spiced apple cider for the full autumn breakfast experience
Ready to bake? Here is the complete recipe with all the details:
Apple Fritter Focaccia
This Apple Fritter Focaccia combines the pillowy, golden crust of classic focaccia with the warm cinnamon-apple goodness of a bakery fritter. It is the easiest showstopper you will ever pull from your oven.
Ingredients
- 3 cups all-purpose flour, spooned and leveled
- 2 1/4 tsp instant yeast, one standard packet
- 2 tbsp granulated sugar, for the dough
- 1 1/2 tsp kosher salt
- 1 1/4 cups warm water, about 110 degrees F
- 4 tbsp olive oil, divided, for the dough and pan
- 2 Granny Smith apples, peeled, cored, and diced into small cubes
- 3 tbsp unsalted butter, melted
- 3/8 cup brown sugar, packed, for the apple topping
- 1 1/2 tsp ground cinnamon
- 1/4 tsp ground nutmeg
- 1 tsp cornstarch, helps thicken the apple juices
- 1 cup powdered sugar, sifted, for the glaze
- 3 tbsp whole milk, adjust for glaze consistency
- 1/2 tsp vanilla extract, for the glaze
Instruction
In a large bowl, whisk together the flour, instant yeast, granulated sugar, and kosher salt.
Add the warm water and 2 tablespoons of olive oil. Stir until a shaggy dough forms, then mix vigorously for about 2 minutes until the dough is smooth and slightly sticky.
Cover the bowl with plastic wrap or a clean kitchen towel and let the dough rise at room temperature for 1 hour, or until it has doubled in size.
While the dough rises, prepare the apple topping. In a medium bowl, toss the diced apples with the brown sugar, cinnamon, nutmeg, and cornstarch until evenly coated. Set aside.
Pour the remaining 2 tablespoons of olive oil into a 9x13-inch baking pan and coat the bottom and sides thoroughly. Transfer the risen dough into the pan and use your fingertips to gently stretch it toward the edges. If it springs back, let it rest for 5 minutes and try again.
Drizzle the melted butter evenly over the surface of the dough. Scatter the cinnamon apple mixture across the top, pressing the apple pieces lightly into the dough with your fingertips to create the classic focaccia dimples.
Cover the pan loosely and let the dough puff for another 20 to 30 minutes while you preheat your oven to 425 degrees F (220 degrees C).
Bake for 25 to 30 minutes, until the edges are deep golden brown and the apples are tender and caramelized.
While the focaccia bakes, whisk together the powdered sugar, milk, and vanilla extract until a smooth, pourable glaze forms. Add milk one teaspoon at a time until you reach your desired consistency.
Remove the focaccia from the oven and let it cool in the pan for 10 minutes. Drizzle the vanilla glaze generously over the warm focaccia before slicing and serving.
Equipment
- Large mixing bowl
- 9x13-inch baking pan
- Medium mixing bowl
- Whisk
- Plastic wrap or kitchen towel
- Pastry brush (optional)
- Wire cooling rack
Notes
Storing and Reheating
If you somehow have leftovers, store them in an airtight container at room temperature for up to 2 days. For longer storage, refrigerate for up to 4 days. Reheat slices in a 325 degree F oven for about 8 minutes to bring back the crispy edges. The microwave is quick but will leave the bread a little soft and chewy, so the oven is worth the extra few minutes.
For make-ahead convenience, the dough can be mixed the night before and left to slow-rise in the refrigerator overnight. This actually improves the flavor and makes morning assembly nearly effortless.